
Deploy a Web Project
This is a complete walkthrough you can follow from start to finish. It uses snowykami/neo-blog to build source code into images, release them to a runtime cluster, and create a public route for the frontend.
neo-blog has a Go backend at the repository root and a Next.js frontend under web/.
Before you start, make sure the API and worker are running, a runtime cluster is configured, and a registry is available for build output. Missing any of these will block a later step.
1. Create a Project Space
Create a project space for the blog.
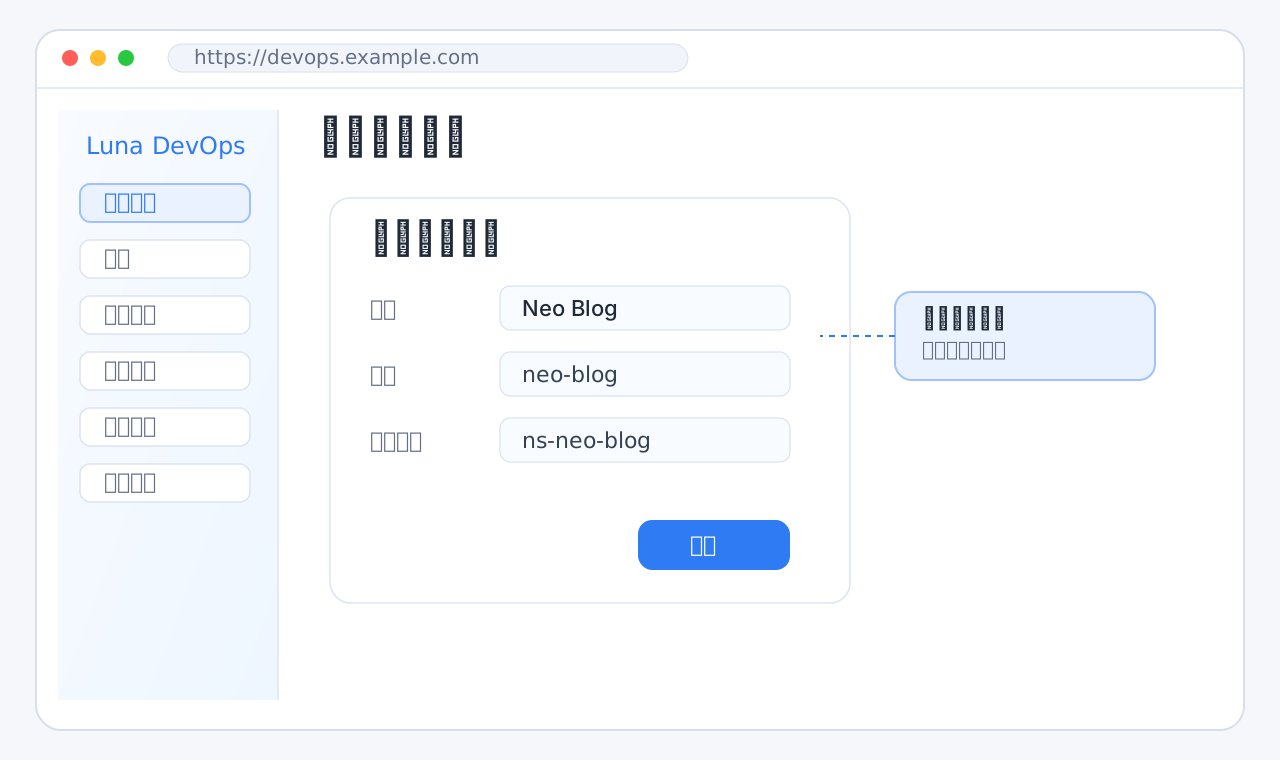
Recommended values:
2. Create Applications
Create two applications in the project space.
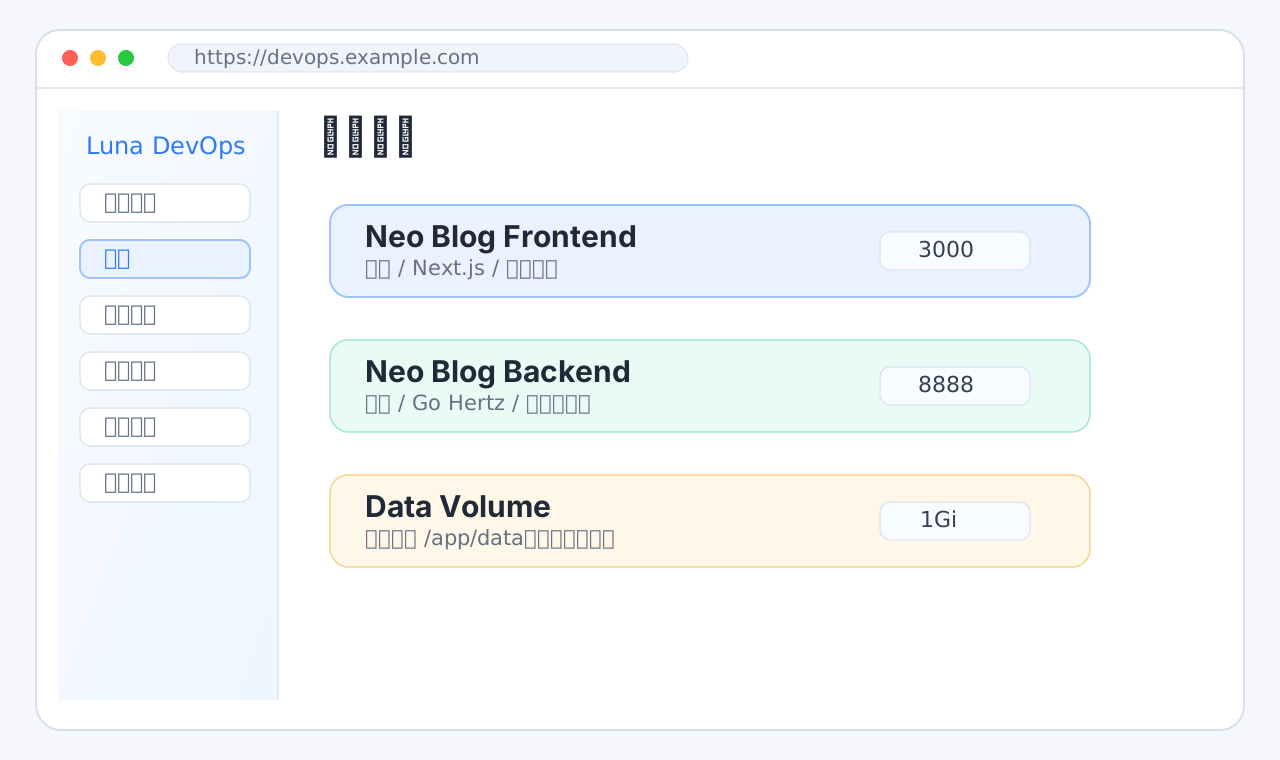
For the first deployment, keep data with the backend data volume. Add an external database only when the app configuration needs it.
3. Bind the GitHub Repository
Bind this repository:
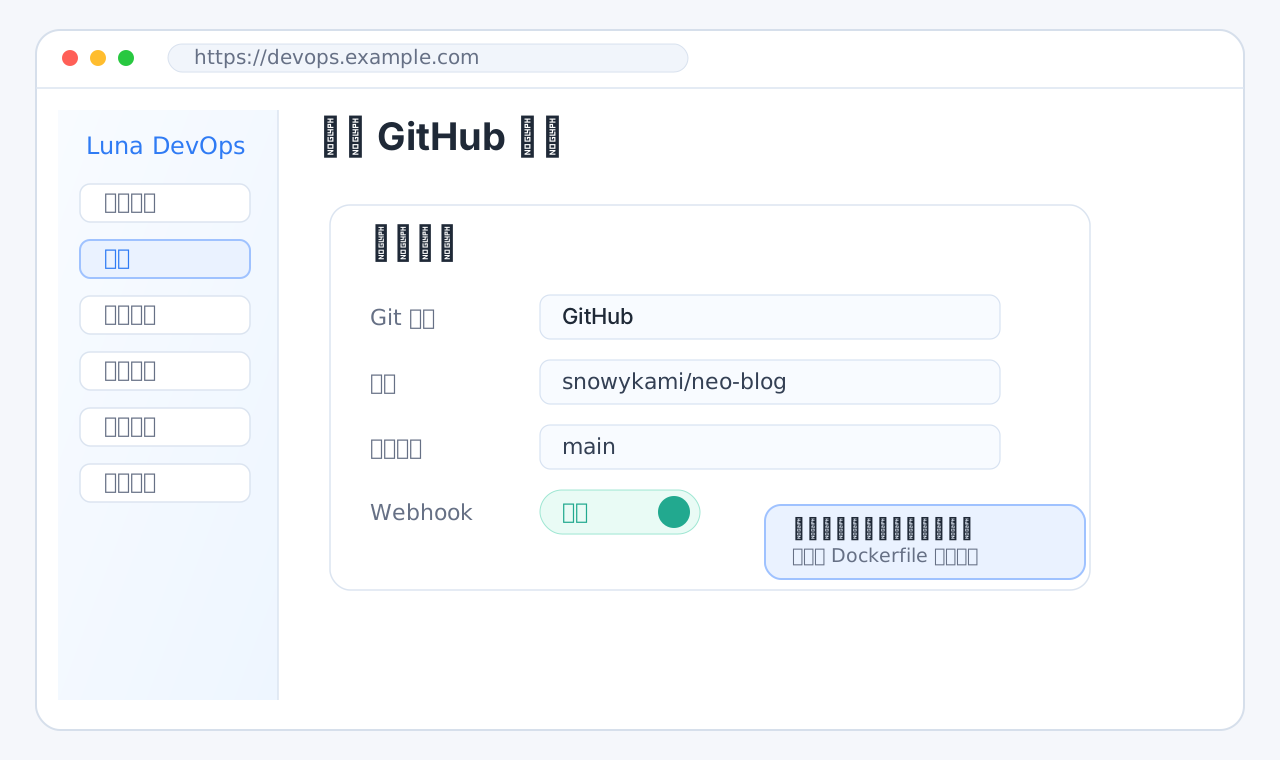
Use main as the default branch. The same repository binding can be reused by both frontend and backend deployment targets.
4. Create the Backend Deployment Target
Use these values:
Recommended environment variables:
If you start with SQLite, mount a data volume at /app/data.
5. Create the Frontend Deployment Target
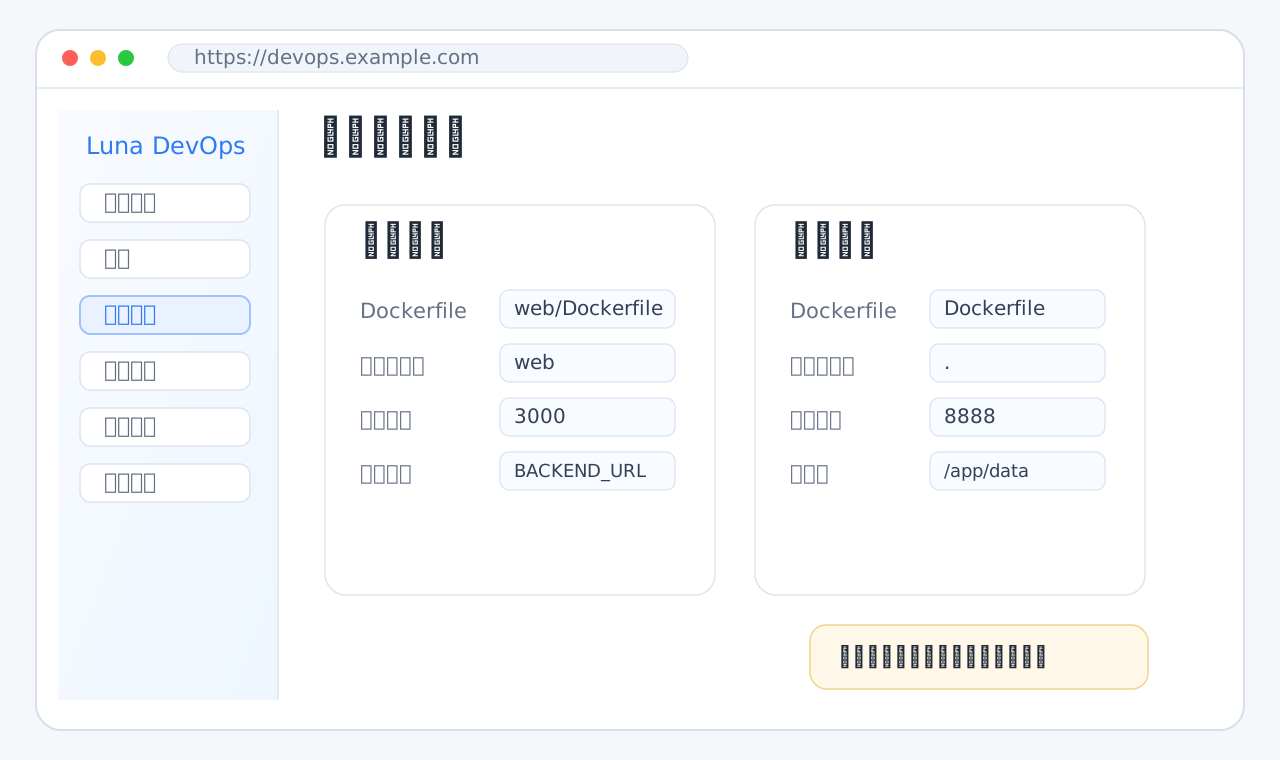
Dockerfile Build Args are passed to Dockerfile ARG instructions as BuildKit build-arg values and snapshotted into each build run. Use them for non-secret values such as EMBED_WEB=true, VERSION=${{ github.sha }}, or build modes. Put passwords, tokens, and private package credentials in project-space build secret variables instead.
Set BACKEND_URL to the backend service URL, for example:
Use the actual Service name shown by your platform deployment if it differs.
6. Build and Release
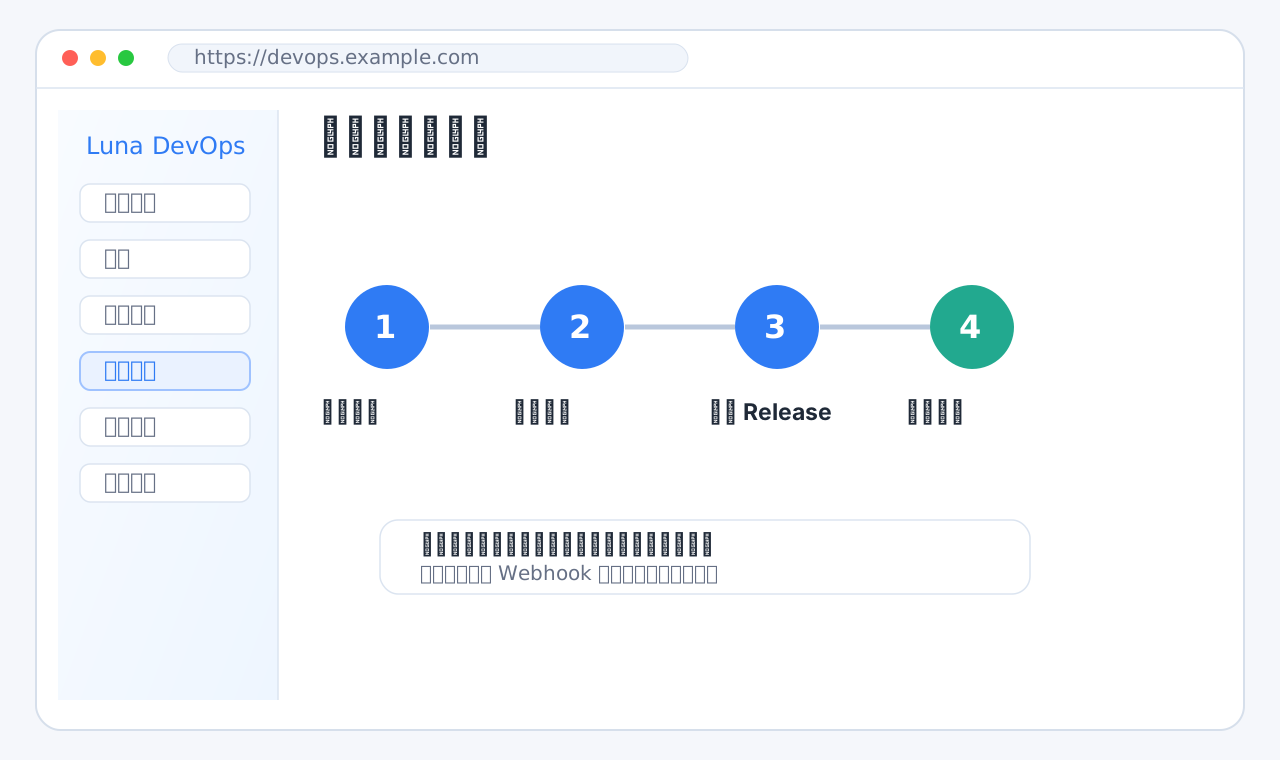
Recommended order:
- Trigger the backend build.
- Release the backend after the build succeeds.
- Trigger the frontend build.
- Release the frontend after the build succeeds.
- Check that both workloads are healthy.
If a build fails, start from the build log tail. Common causes are base image pull failures, npm registry access, Go module download failures, or insufficient build memory.
7. Create the Public Route
Only expose the frontend.
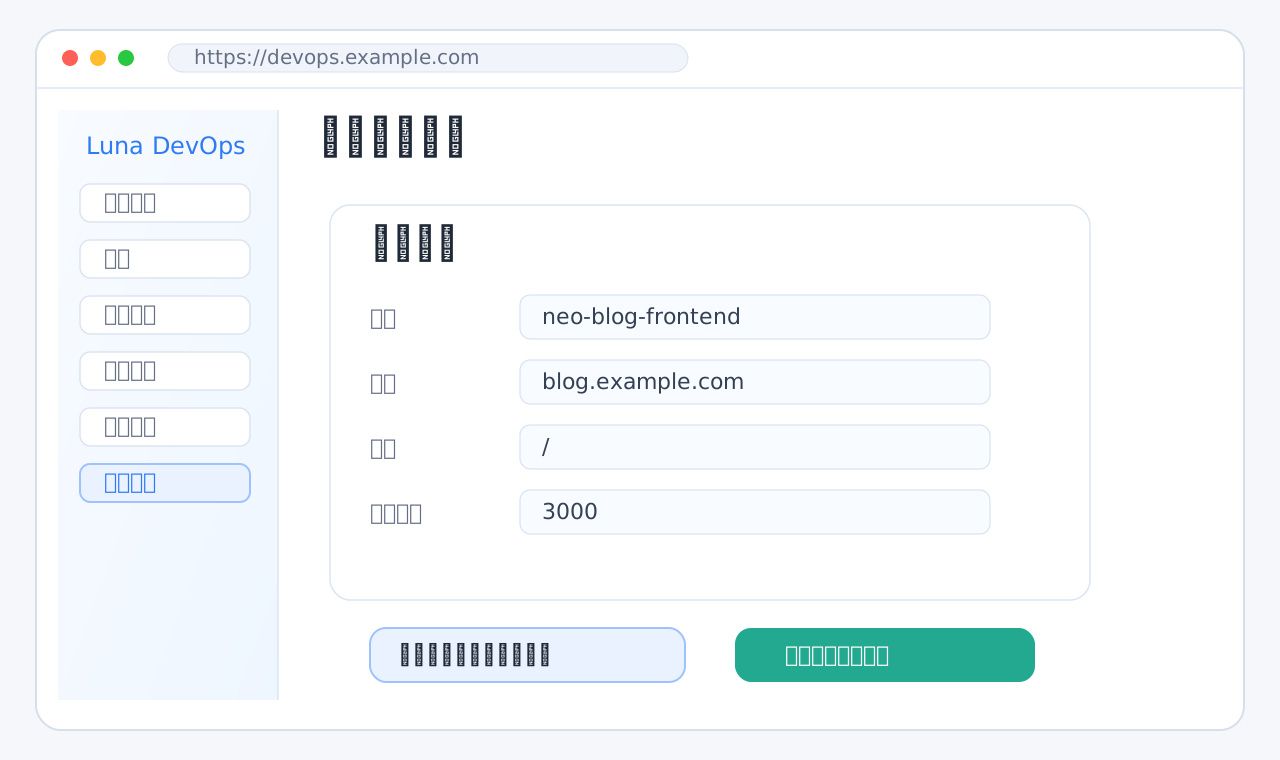
Open the route after it becomes healthy. If the page loads but API calls fail, check frontend BACKEND_URL and backend BASE_URL.
8. Enable Automation After the First Successful Run
Start manually. After the first successful deployment, enable webhook builds, auto release, branch filters, and tag filters one at a time. This makes failures easier to isolate and rollbacks easier to understand.